Groups
This guide covers how to create, join, and manage groups in the FiTunza application.
Onboarding and Prerequisites
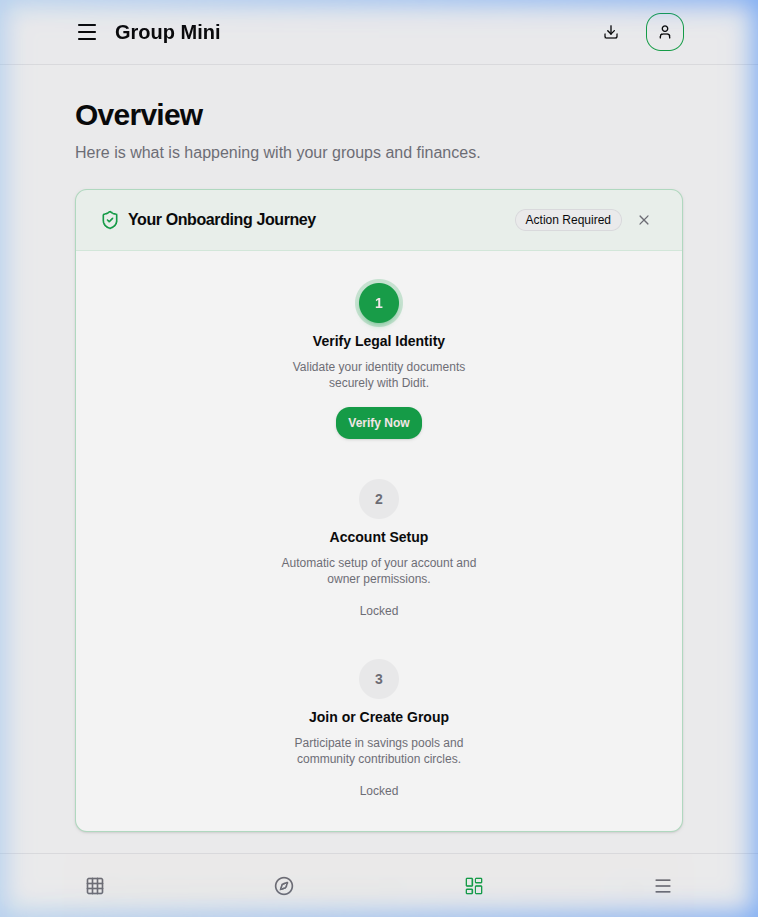
Before you can create or fully participate in groups, you must complete the onboarding journey:
- Verify Legal Identity: You must validate your identity documents securely with Didit.
- Account Setup: Once verified, your account and owner permissions will be set up.
- Join or Create Group: This step is locked until you complete the previous steps.
Creating a Group
To create a group:
- Navigate to the "My Groups" section.
- Click the "Create Group" button.
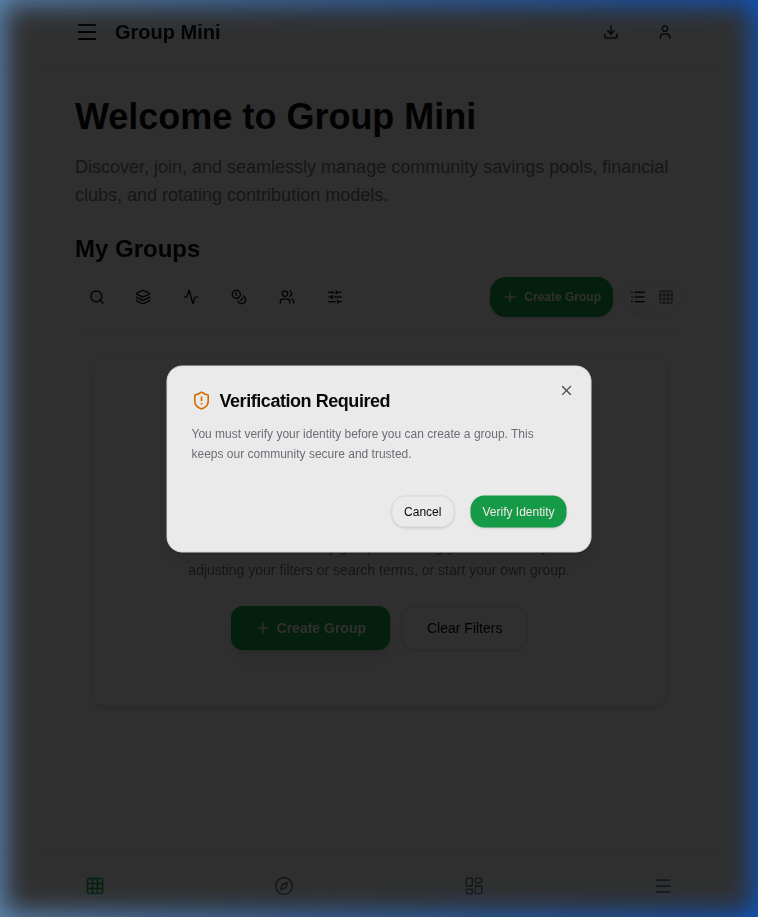
- If you haven't verified your identity, a "Verification Required" modal will appear. You must click "Verify Identity" to proceed.
Group Setup
After creating a group, it enters the "SETUP" state. You must complete a checklist of items before the group can be activated and start its cycle.
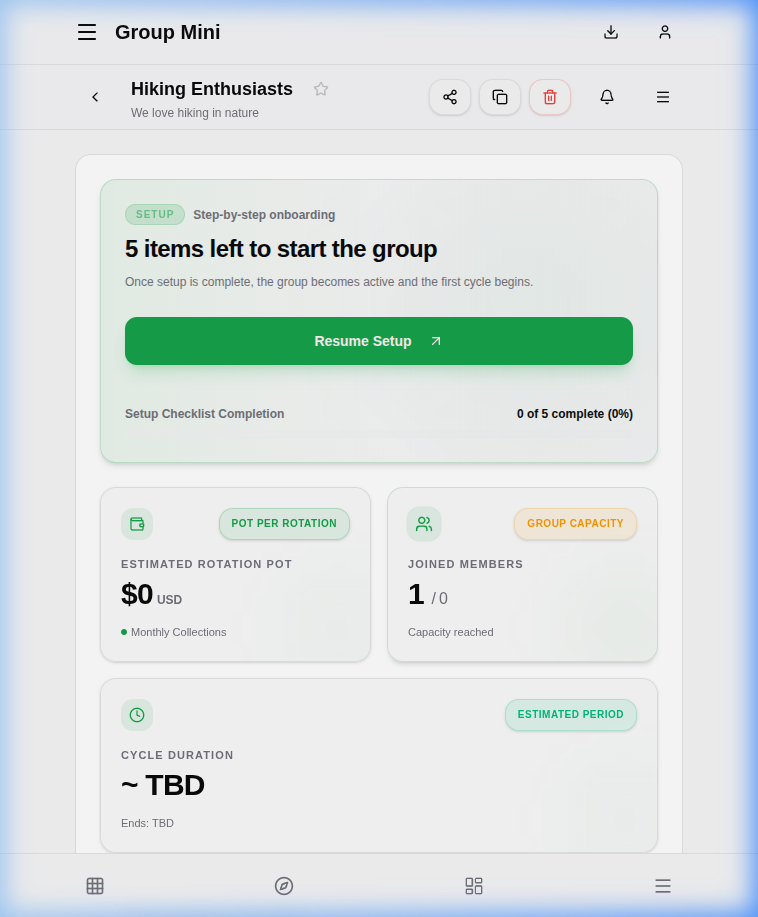
The checklist typically includes:
- Pot per rotation set: Configure the target pot amount and currency in the Settings tab under the Operations section.
- Cycle defined: Define the sequence and frequency of collections (e.g., Daily, Weekly) in the Settings tab.
- All members joined: Fill all member spots before commencing. The member limit is set in the group settings.
- Start date set: Select the official start date in the Schedules tab.
Click "Resume Setup" to navigate directly to the next incomplete step.
Managing Groups
When you select a group, you can access several tabs to manage it:
- Overview: Summary of group activities.
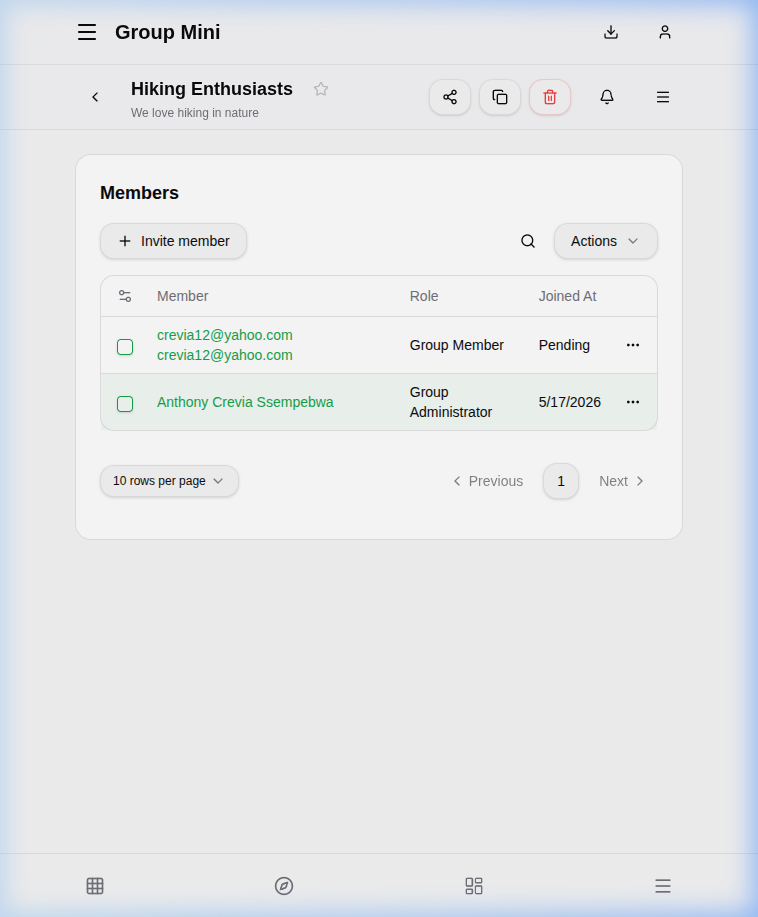
- Members: List of current and pending members.
- Schedules: Calendar and timeline of activities.
- Finances: Financial logs and settings.
- Settings: General group settings.
Managing Members
In the Members tab, you can manage the group's roster.
Inviting Members
To invite a member:
- Click the "Invite member" button.
- Search for the user by Phone or Email.
- Select a role for the user.
- Click "Invite".
Invited users will appear in the list with a "Pending" status until they accept.
Accepting Invitations
If you are invited to a group, you will see a notification or the group will appear in your list. You can view pending invitations in your profile settings (see Profile section) and accept them there.
Rejected or Revoked Invitations
- If you reject an invitation: It will be removed from your invitations list, and you will not be added to the group.
- If an admin revokes an invitation: It will disappear from your list, and the spot will become available for another user.
Finding Groups
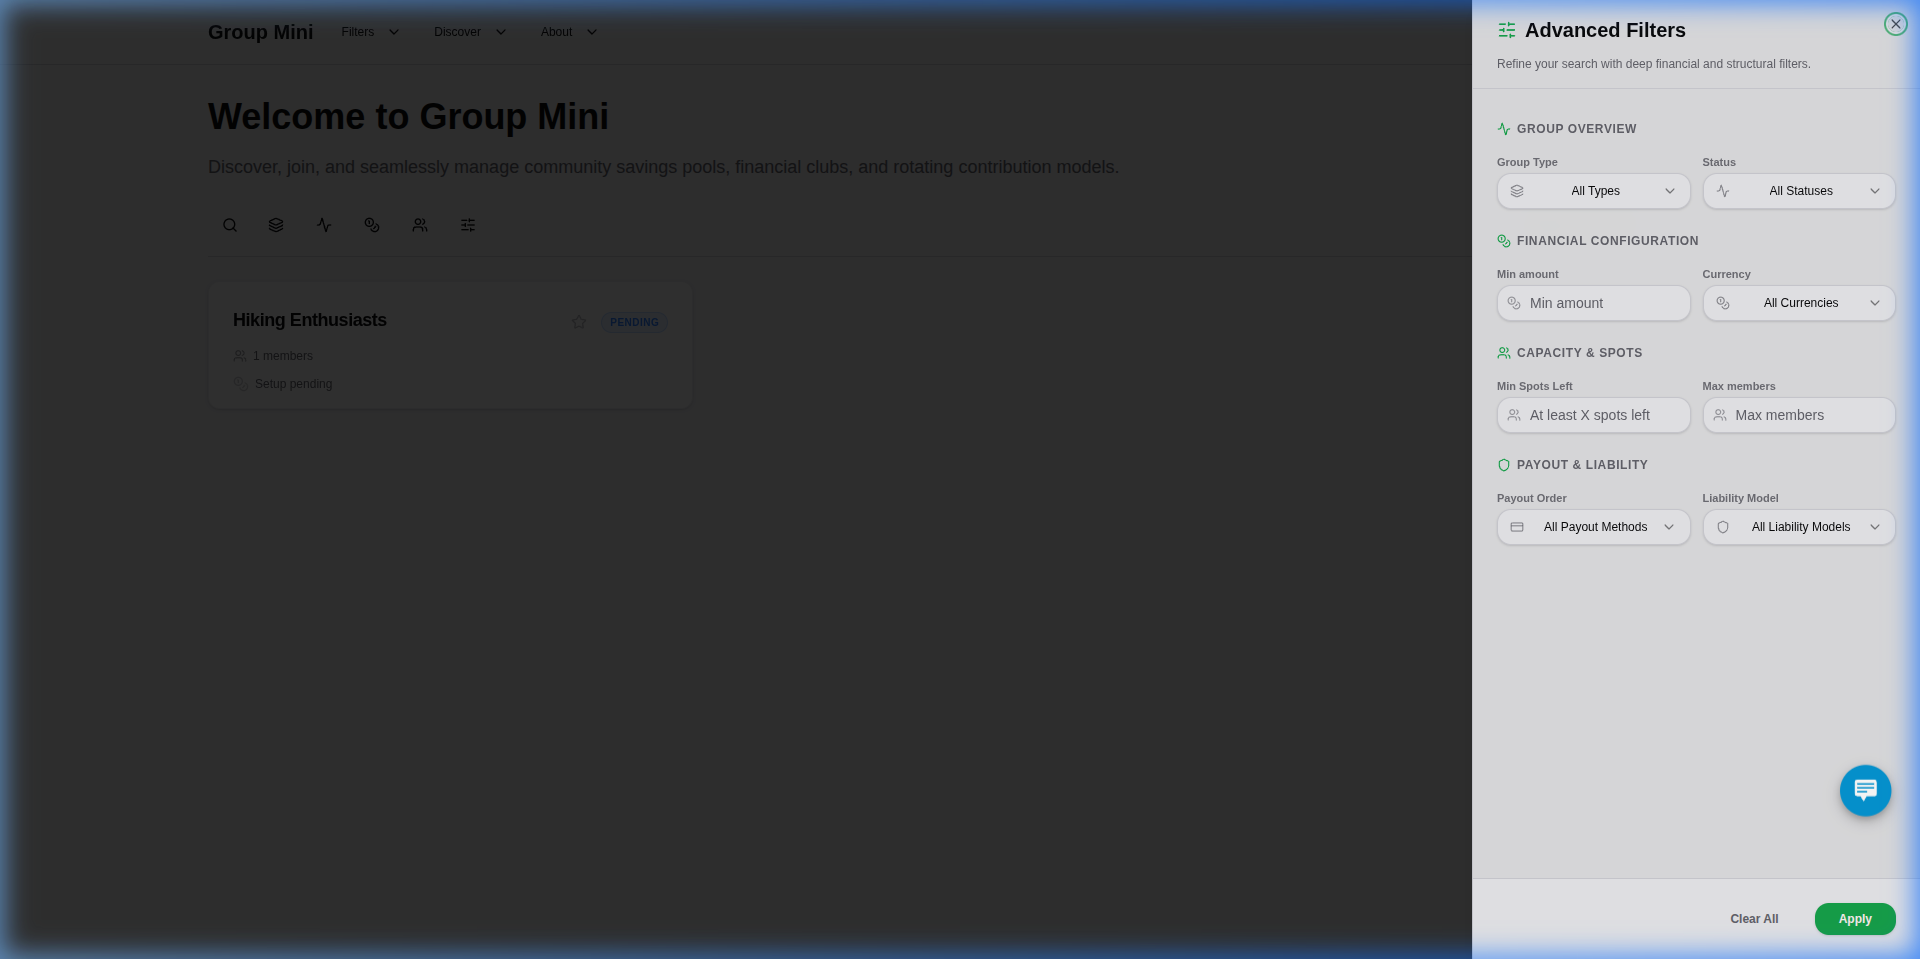
On the main dashboard or "Discover Groups" page, you can search for groups and apply advanced filters to find the right fit.
Advanced Filters
Click the filters icon to access advanced search criteria:
- Type: Filter by group type (Rotation or Accumulation).
- Status: Filter by group status (e.g., Active, Setup, Completed).
- Currency: Filter by the currency used.
- Contribution Amount: Set a minimum contribution amount.
- Spots Left: Filter by available spots.
- Payout Method: Filter by payout logic (e.g., random, fixed).
Group Schedules
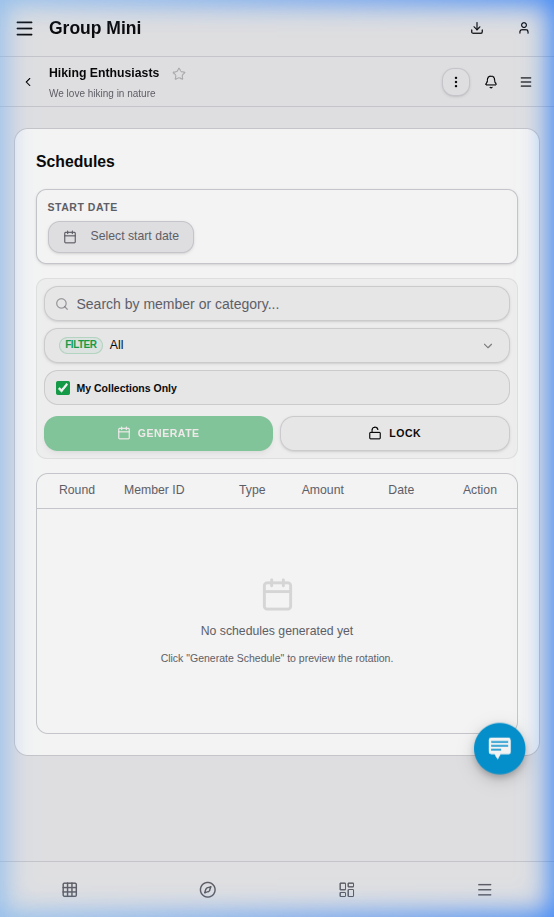
In the Schedules tab of a group, you can view the timeline of events:
- Collections: Scheduled dates for member contributions.
- Payouts: Scheduled dates for distribution of funds.
- Events are organized by rounds or cycles.
Group Finances
In the Finances tab, you can monitor the financial state of the group:
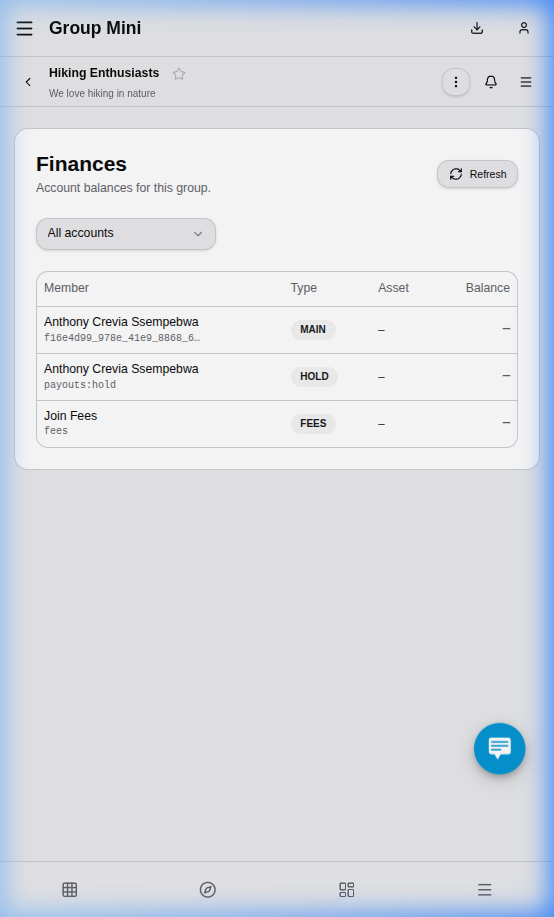
- Accounts: View balances and linked accounts.
- Logs: Review transaction history and contribution logs.